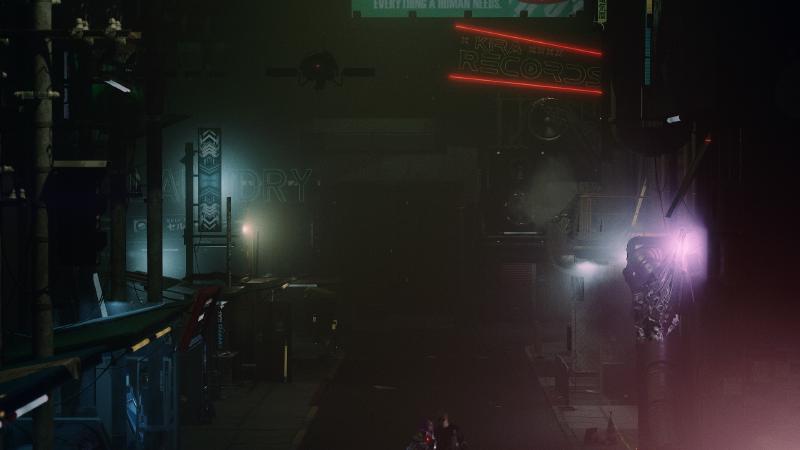
For Activ8te’s latest track, Netrunner, I am producing a music video that tells the story of Lucy, a netrunner who uses social engineering to extract secrets from a Militech corporate hacker. The music video is produced completely in Unreal and makes use of Unreal’s metahuman technology. Unfortunately, during the production of the video, I ran into a large number of challenges. For many of them, it was difficult to find solutions just via searching on the web or the unreal forum. I’ll explain how I solved one of the challenges: Running a cloth simulation in Houdini and bringing it back into Unreal.
Music Video Clip
The short clip from the music video shows Lucy taking off her jacket and posing for her target, David.
The animation of the jacket was done in Houdini via a series of vellum simulations and was then brought into Unreal as an alembic geometry cache that contains the complete mesh animation. In this post, I will cover the challenge of making the jacket follow the movement of Lucy’s finger; see the video below.
Exporting Animation from Unreal to Houdini
To create this scene, I recorded animation in Unreal’s Take Recorder from a Live Link session that was streamed from iClone. Take recorder produces a fully contained LevelSequence with several subsequences. Below is an image of the sequence that contains the animation data for Lucy. Take a note of the fact that each frame has associated transform data for translation and rotation.
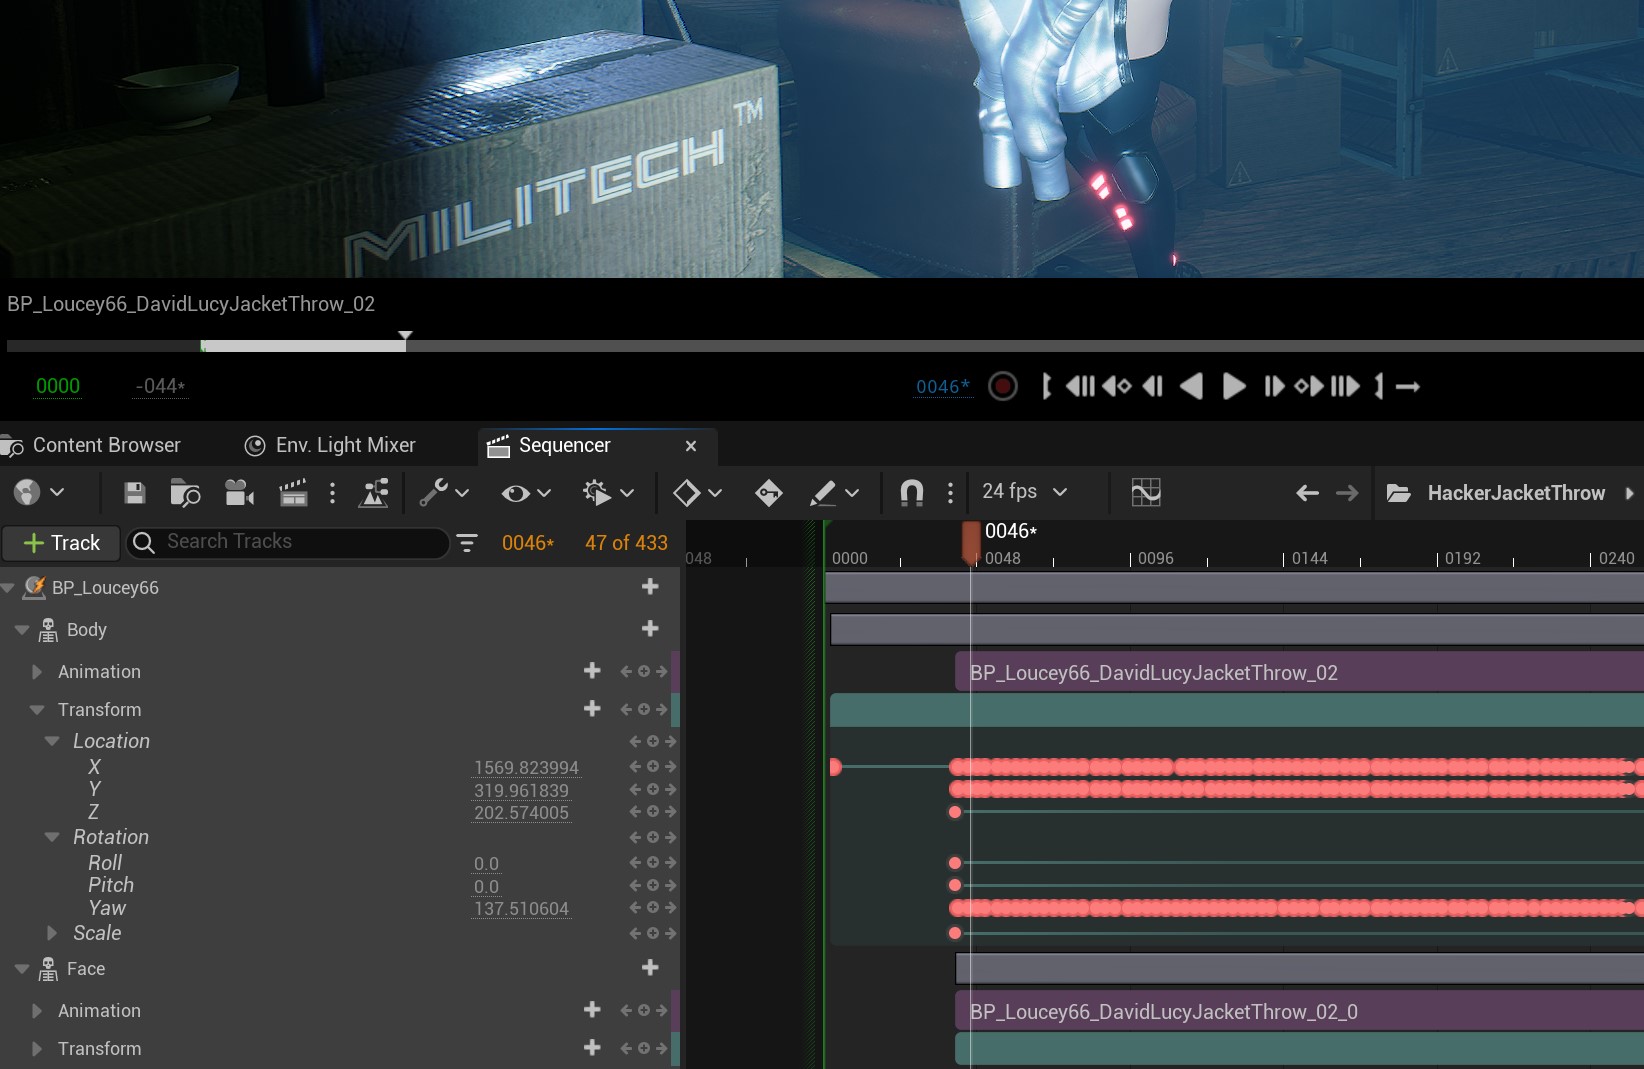
To run a cloth simulation in Houdini, I needed to export the animation data from Unreal into filmbox format and then bring it into Houdini to get an animated mesh to which I can attach the jacket. I exported both the skeletal mesh of the character and the animation data into two separate FBX files. Fortunately, Houdini has great tools for importing FBX files and loading the character into Houdini was really easy. Unfortunately, the result I got has a signifiant problem.
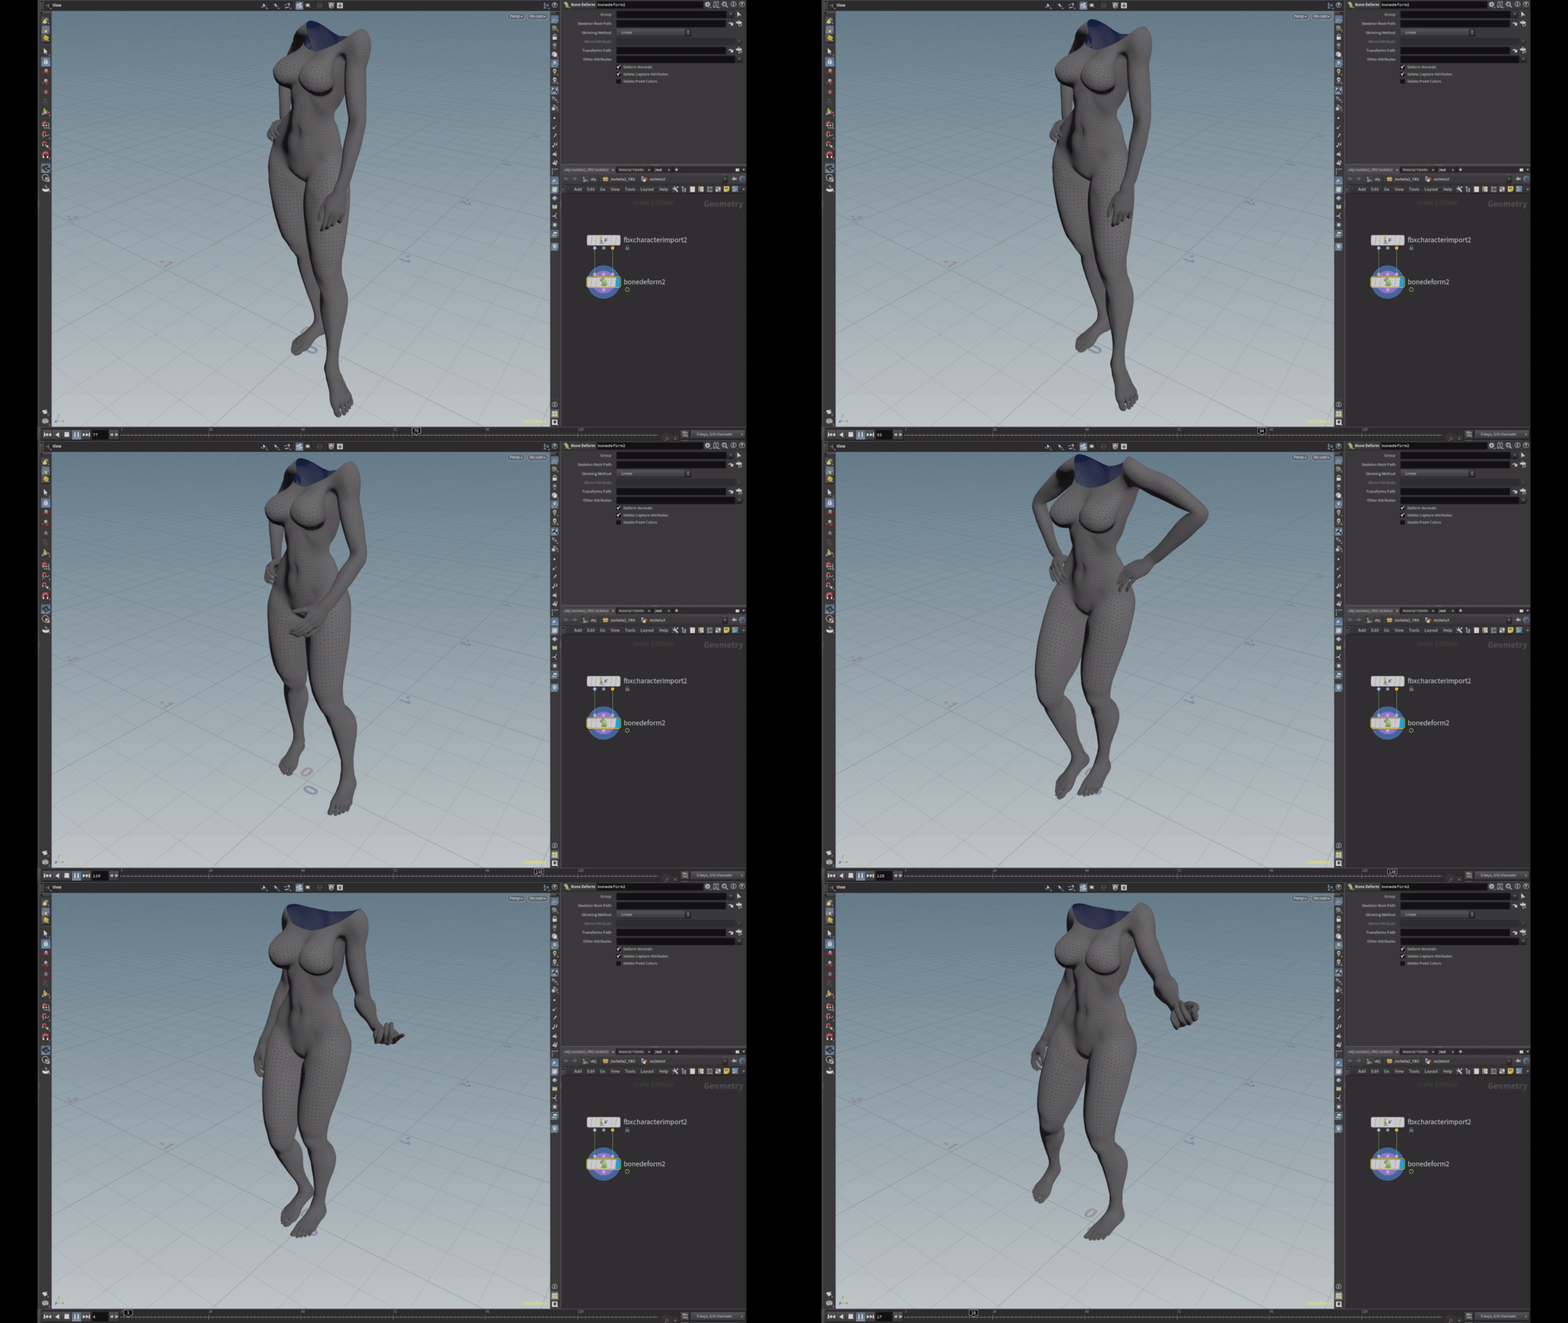
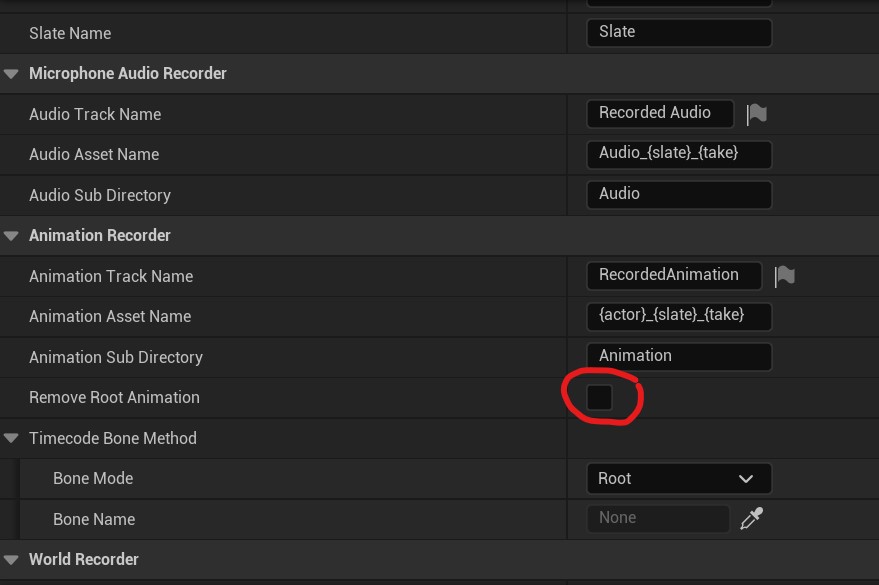
It turns out the Unreal did not record the root motion as part of the animation and instead recorded it as separate transform data. There is no way in Unreal to bake the transform data into the animation or to separately export the transform data. However, it turns out that the Take Recorder has an option to not remove the root motion from the animation.
Adding the Root Motion back with Python
Instead, I decided to copy the transform track to the clipboard and to see whether there is anything that can be done with it:
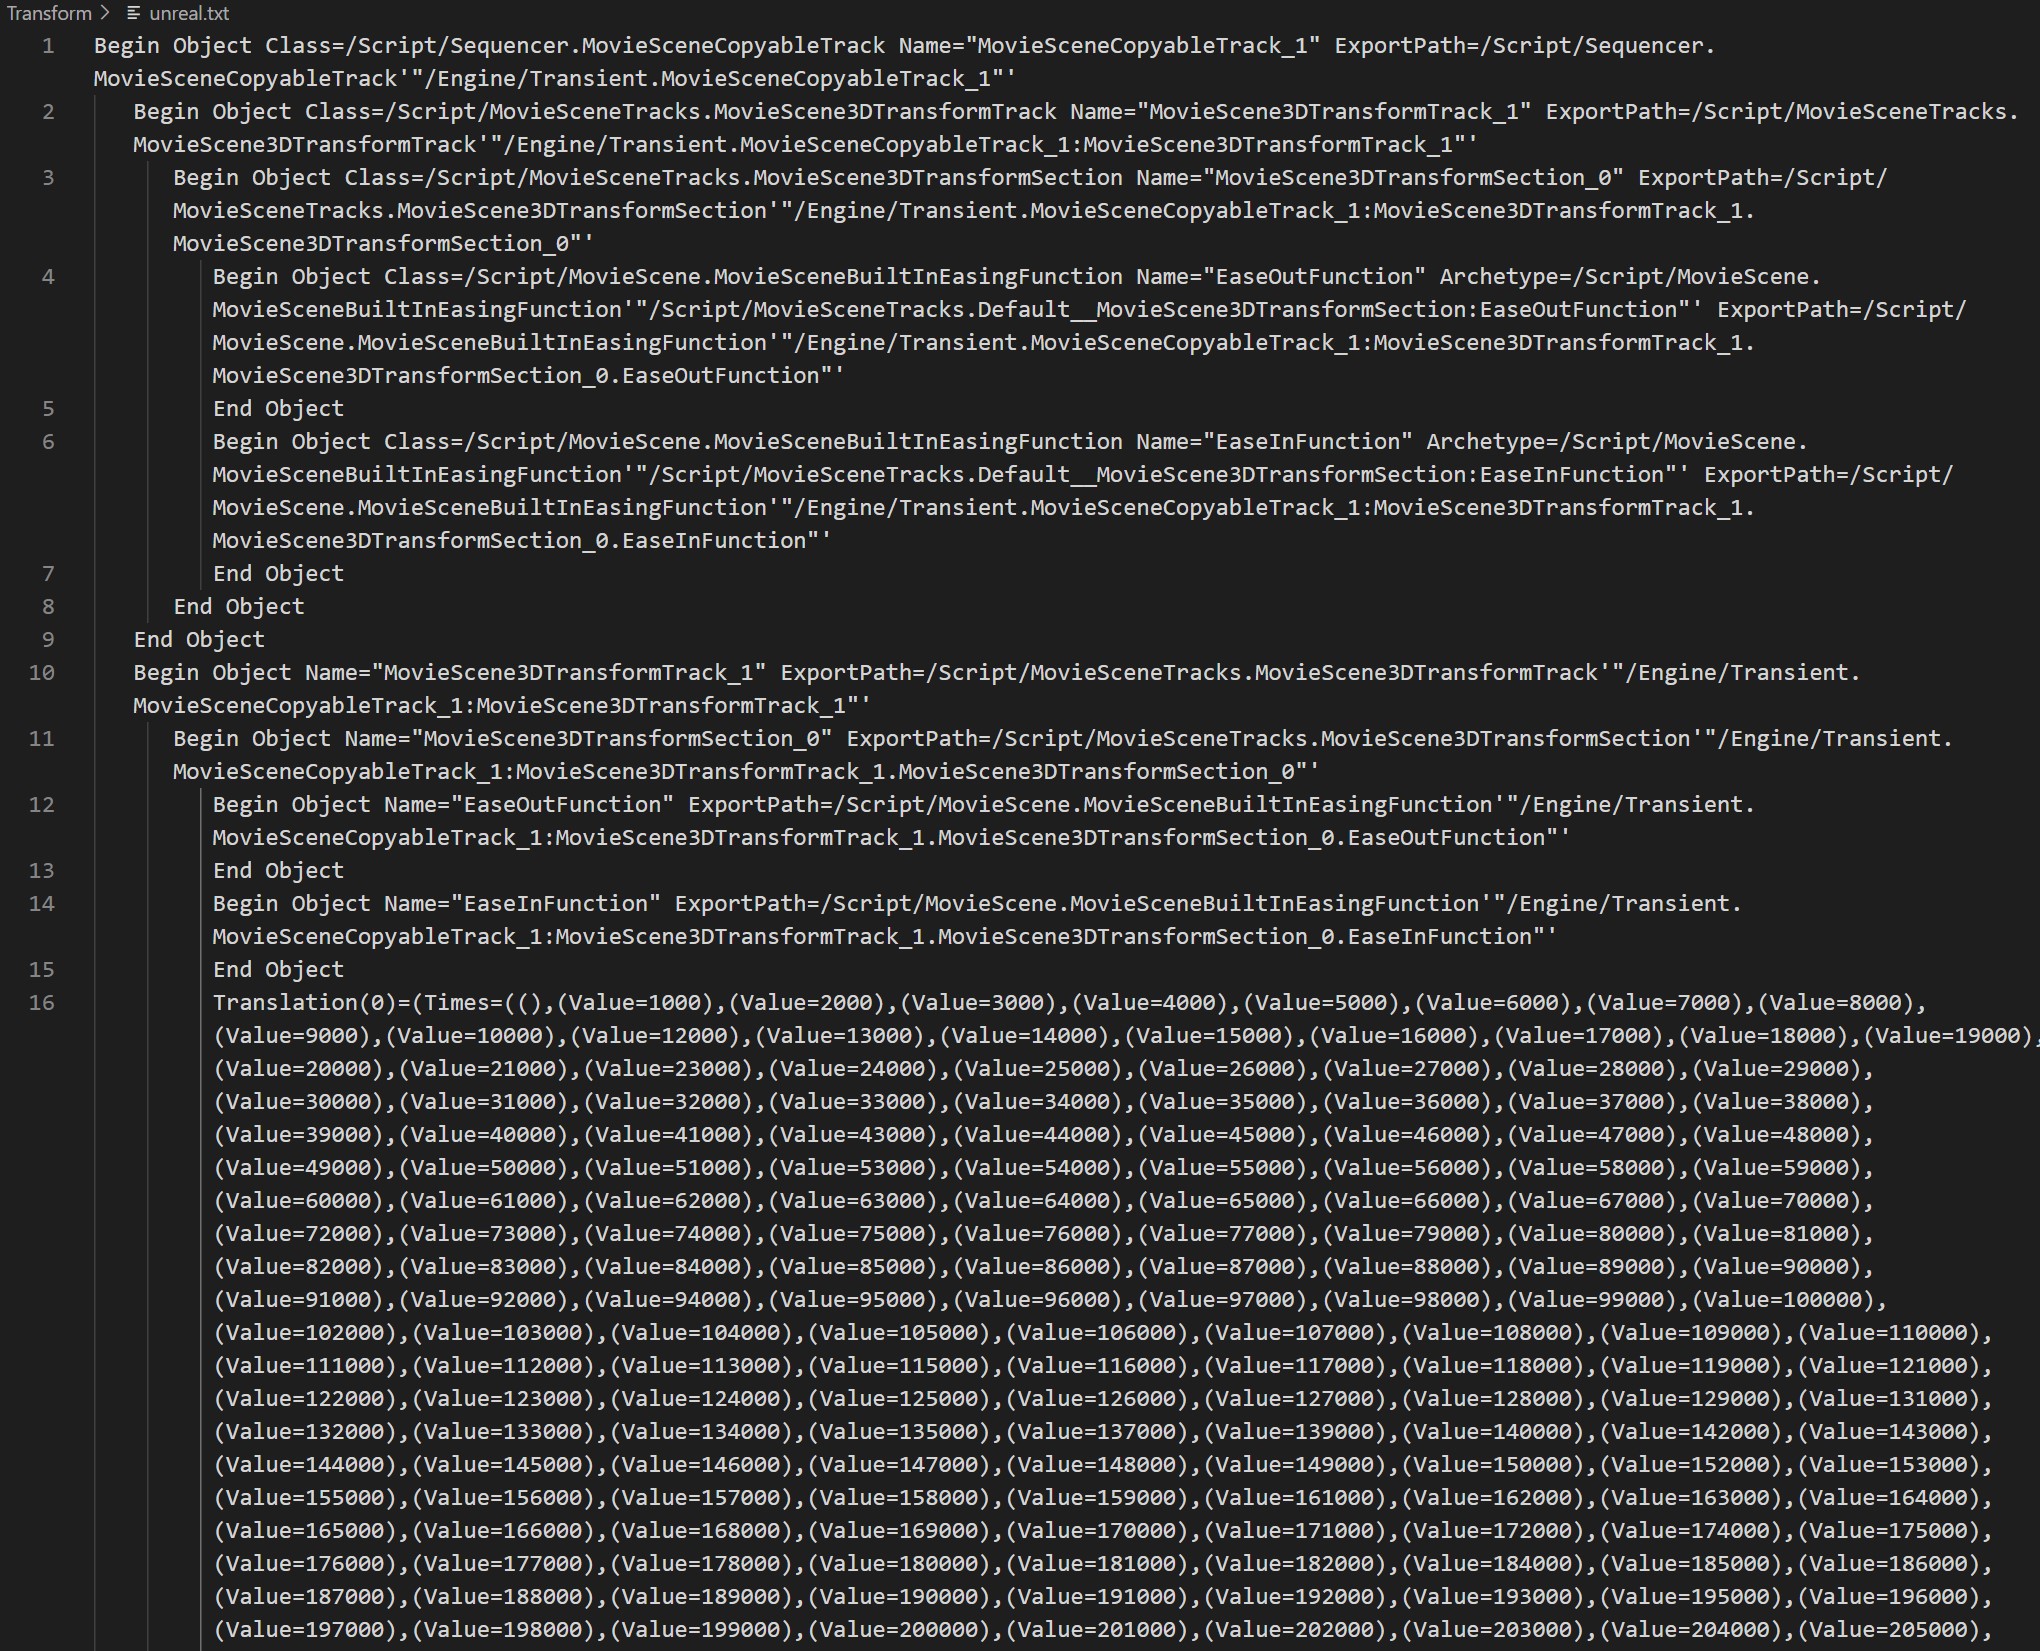
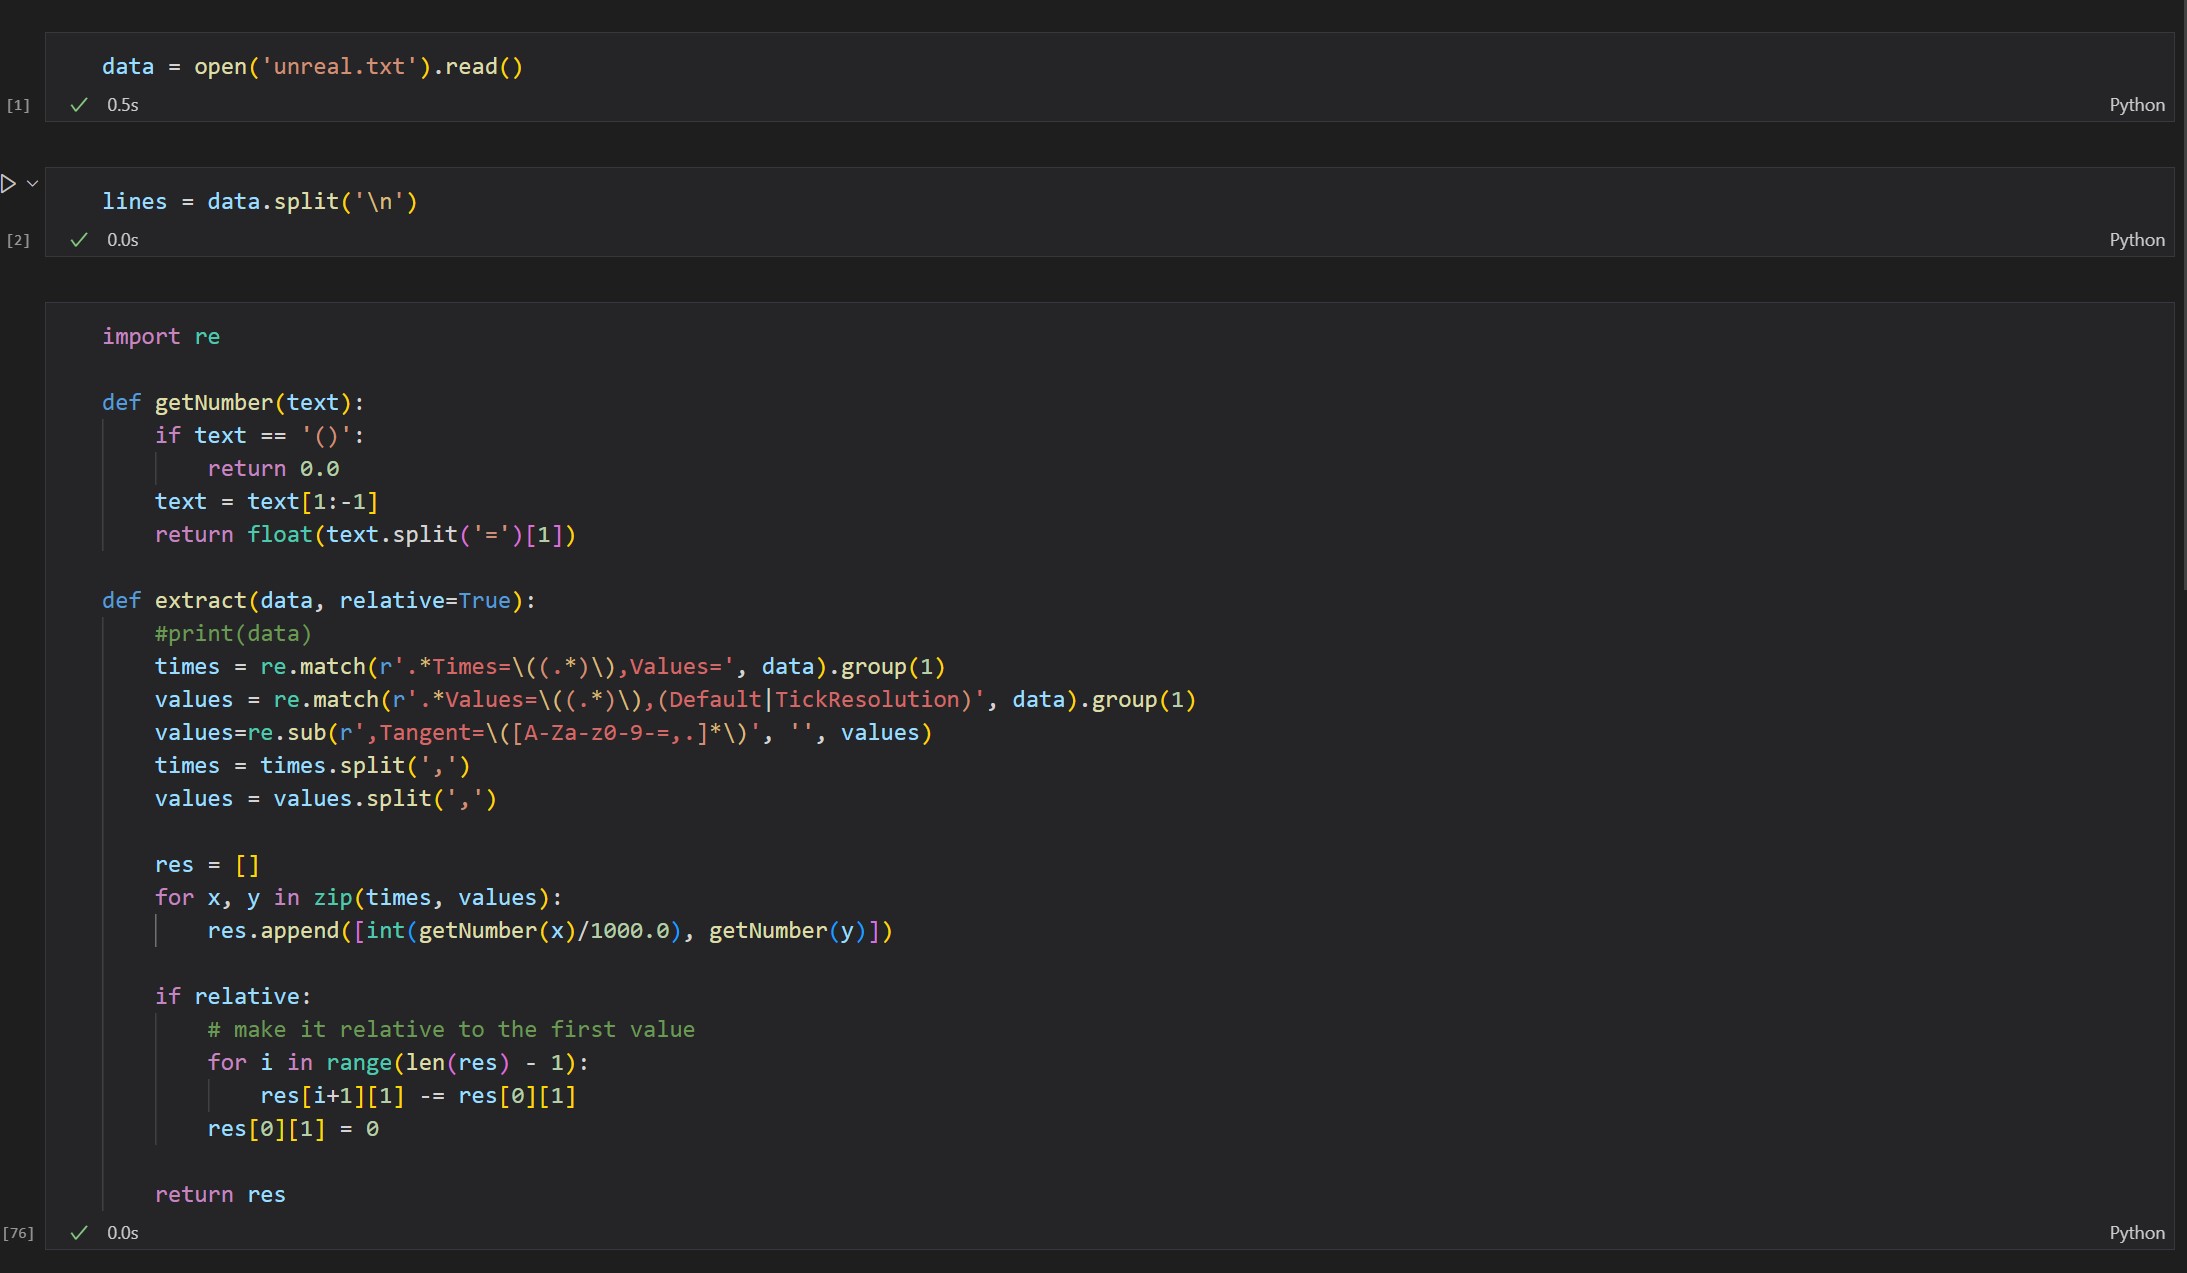
This definitely seemed like something I should be able solve. I decided to start VS Code and quickly write a Juyptyer notebook to transform the data into native python data structures which I might then be able to bring into Houdini. Writing pretty messy code one night after work, I ended up with the following:
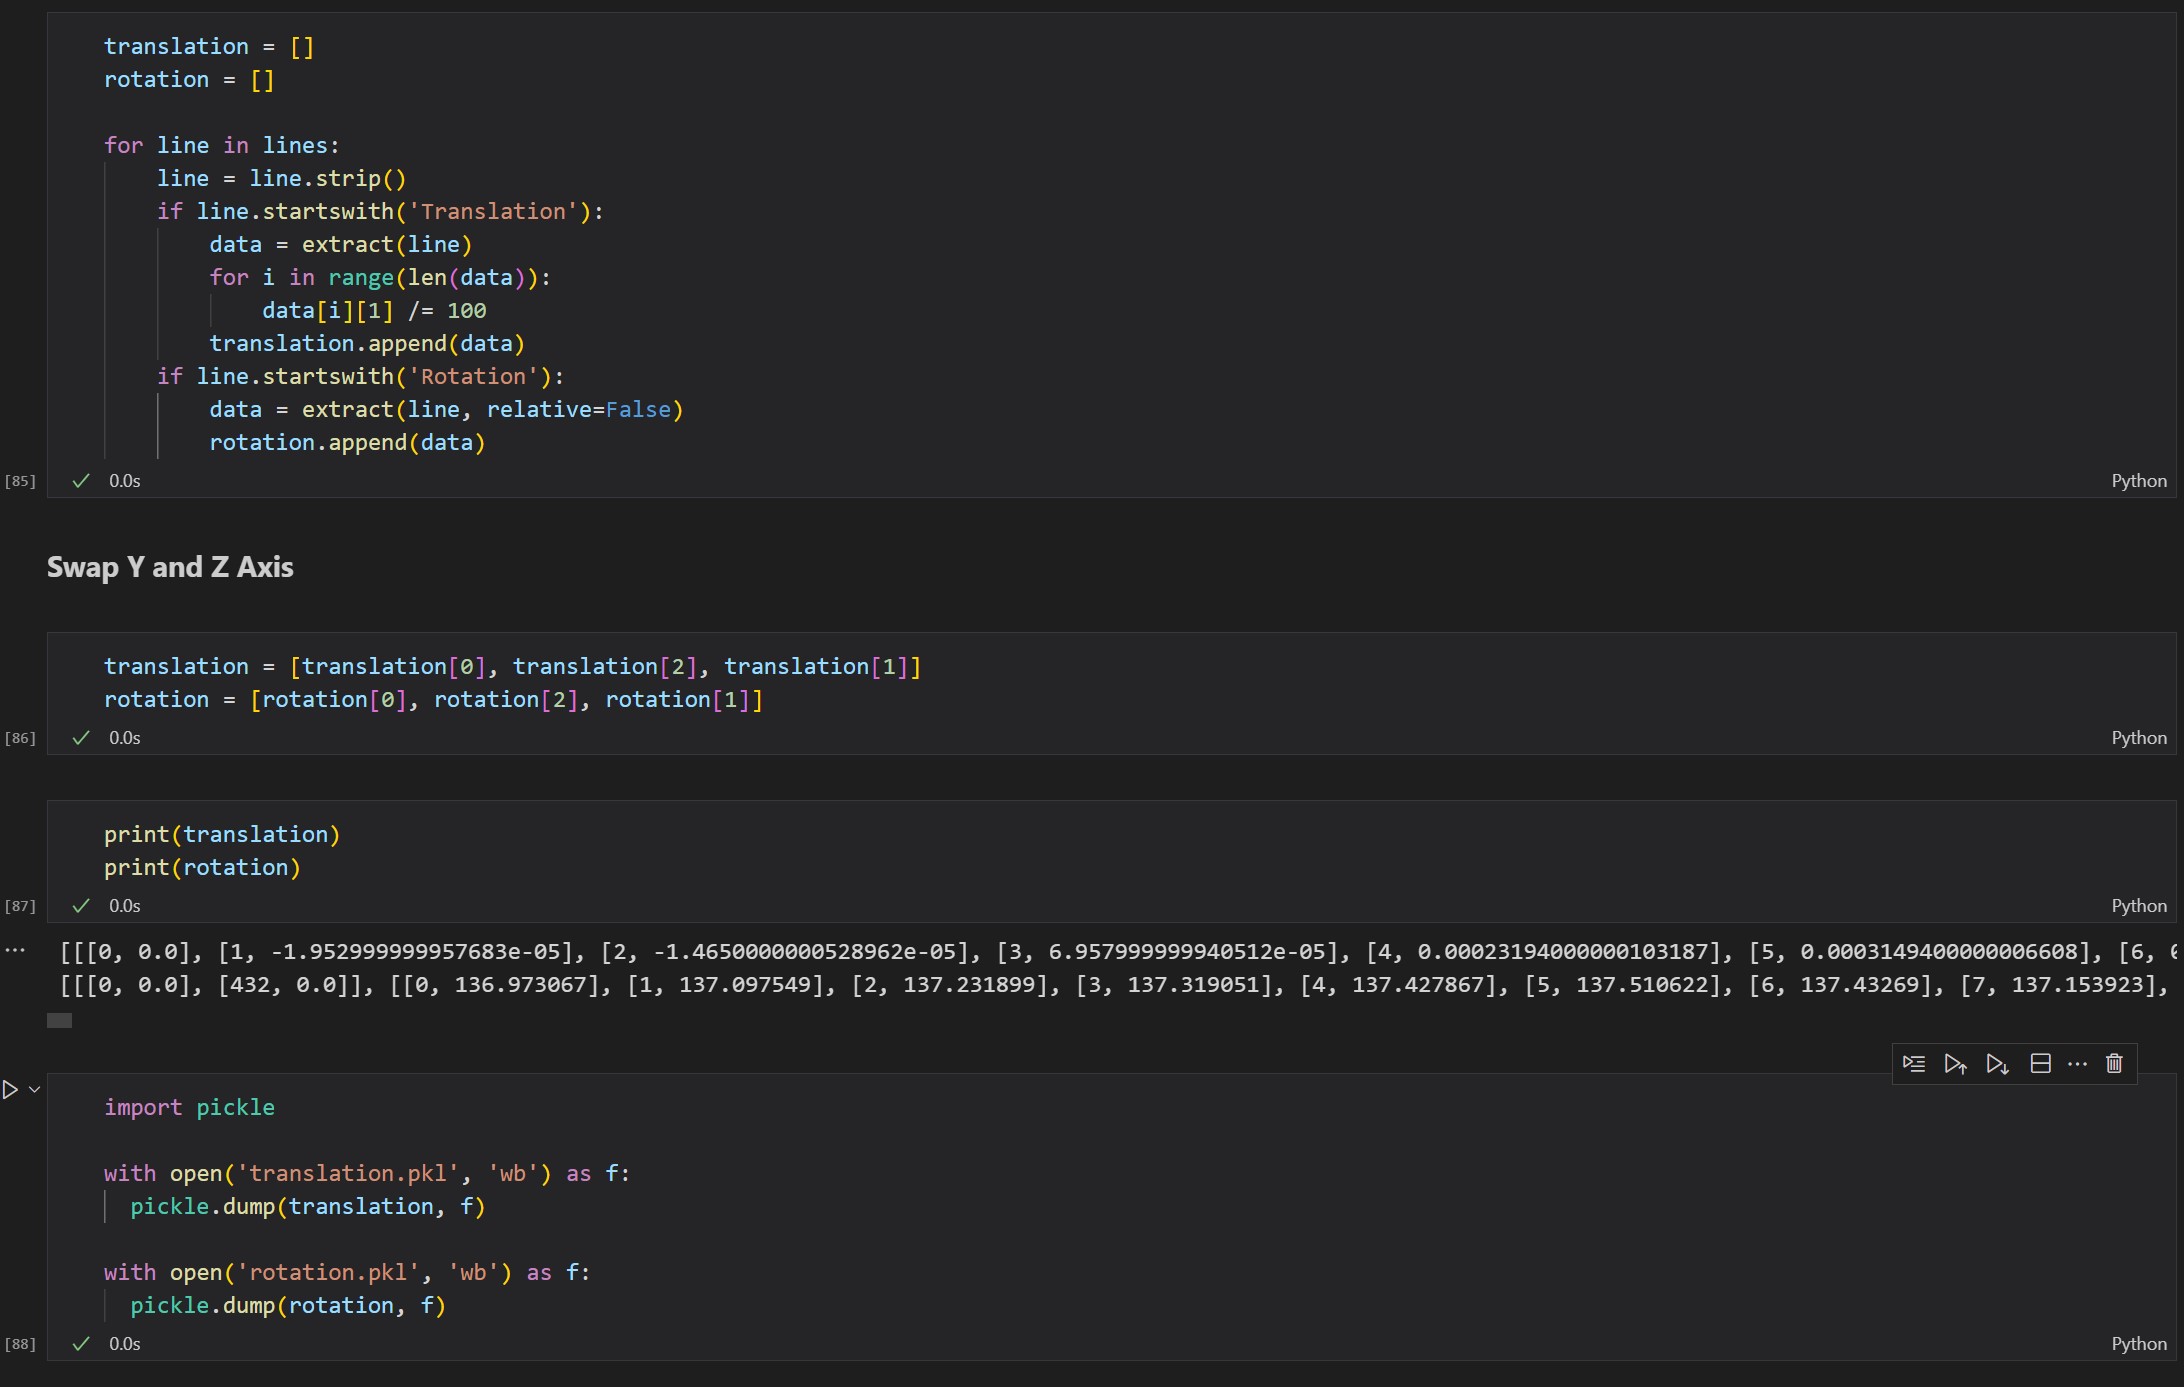
Fortunately, Houdini has first class Python support and the Python session code editor allowed me to apply the transformation data from Unreal into keyframes for a Houdini transform node. Unfortuately, the coordinate systems are not directly the same. Houdini is Y-up and Unreal is Z-up. So, I needed to experiment a little bit what the 90 degree rotation meant for the transform data:
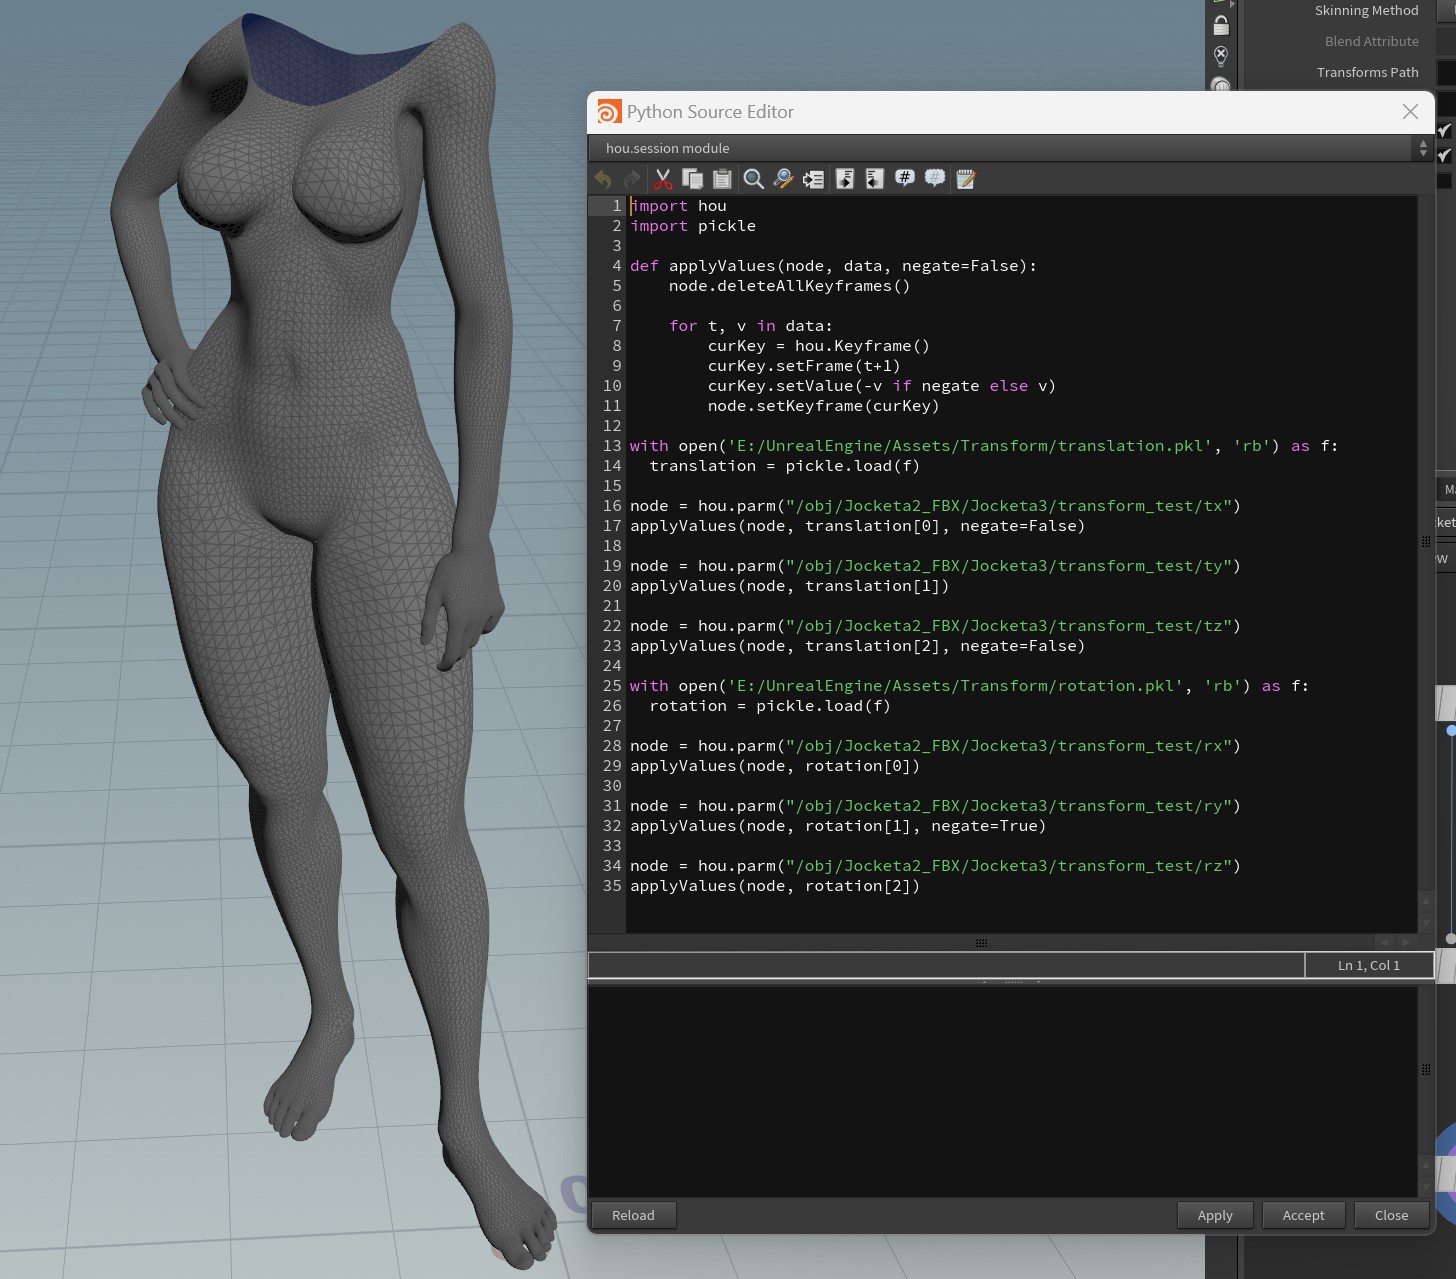
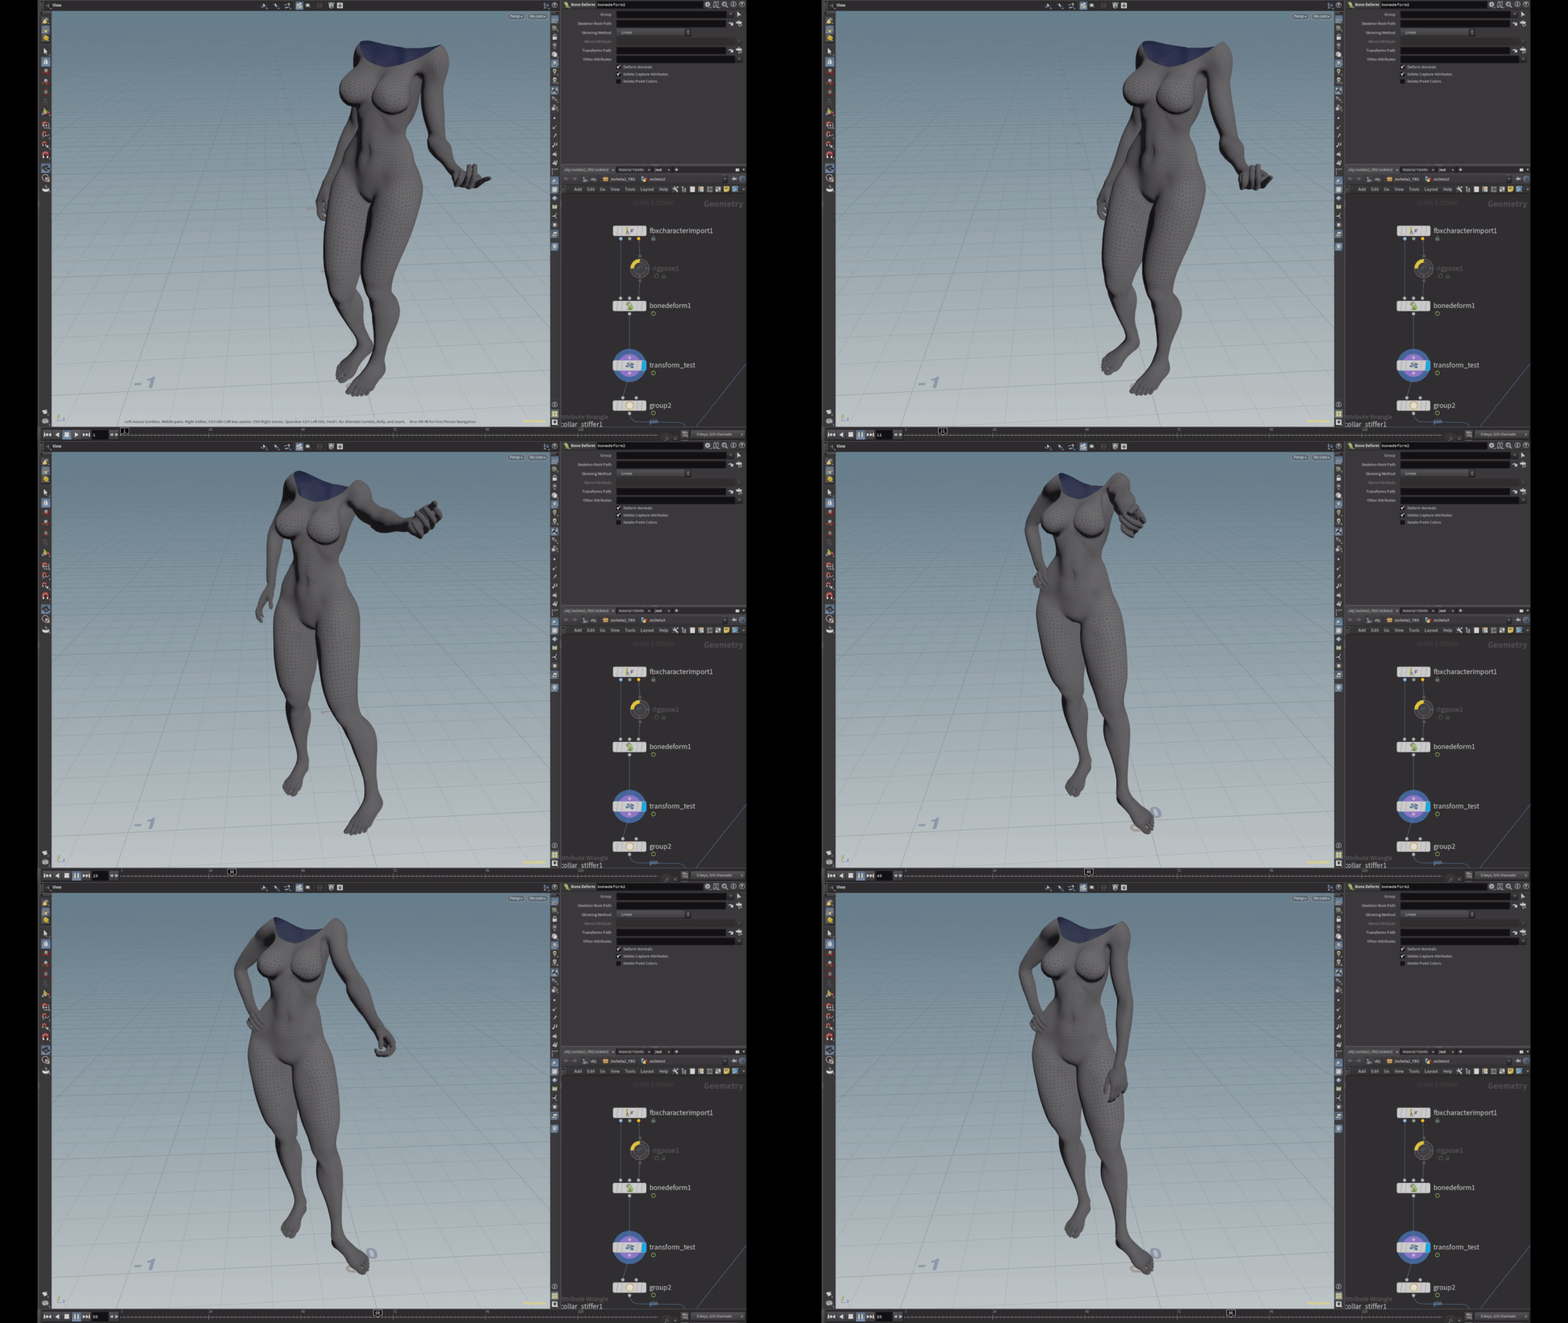
Here are the results from applying the transform data inside in Houdini. The resulting animation has all the necessary root motion and this allowed me to bring a cloth simulation back into Unreal in a way that matched the motion of the hero character.
I run into lots of other challenges with creating this music video which I might post in a future video. In the meantime, I have included the Jupyter notebook and the Python script for Houdini. I don’t know whether this would all be easier with Houdini Engine and the Unreal plugin from SideFX but that’s not something I have been able to get to work yet.
If the terms industrial techno and EDM do not mean anything to you, don’t despair and read my guide on electronic dance music.
